… aaand another one.
March 7, 2010
I found this lately in my drawer, that was one of the versions of ‘the Glade‘ game menu. Didn’t make the cut, but the drawing remained and now I’m posting it to welcome the Spring. And the sunshine.


I found this lately in my drawer, that was one of the versions of ‘the Glade‘ game menu. Didn’t make the cut, but the drawing remained and now I’m posting it to welcome the Spring. And the sunshine.
…for the upcoming Rewolucje 5 album. Coming to an online book store near you soon!


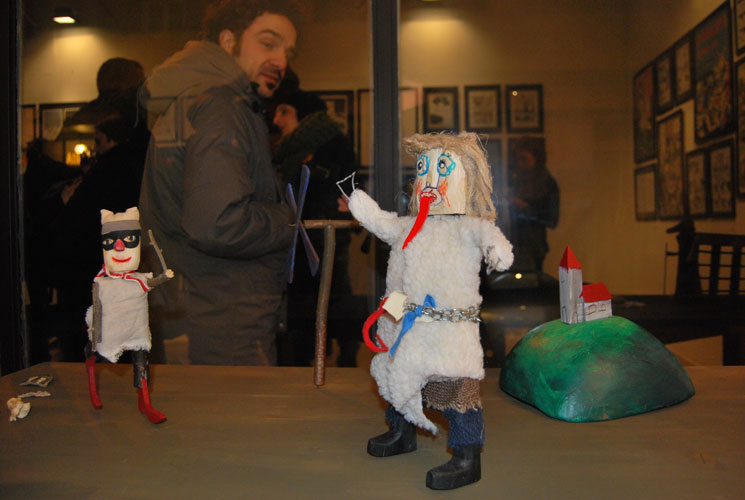
Starting new day on a high note.

Just had to remind myself what it feels like to actually draw something. Like – on paper and all. Seems I still got it. Now back to the virtual reality of daymare town…
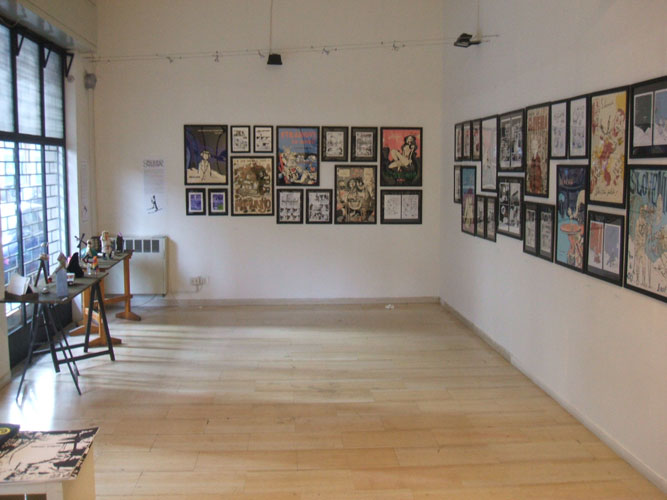
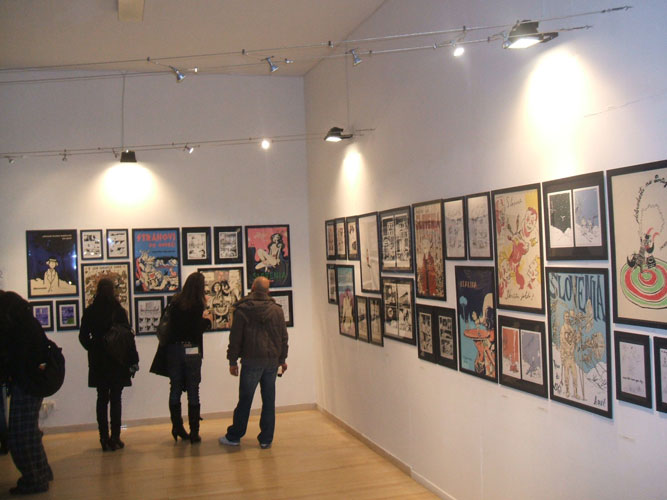
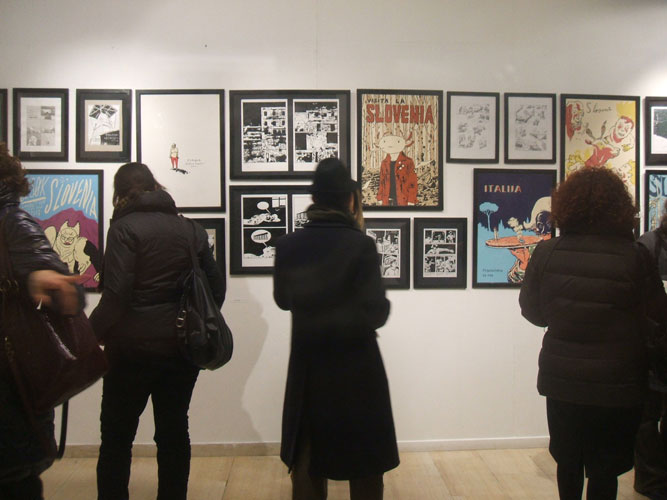
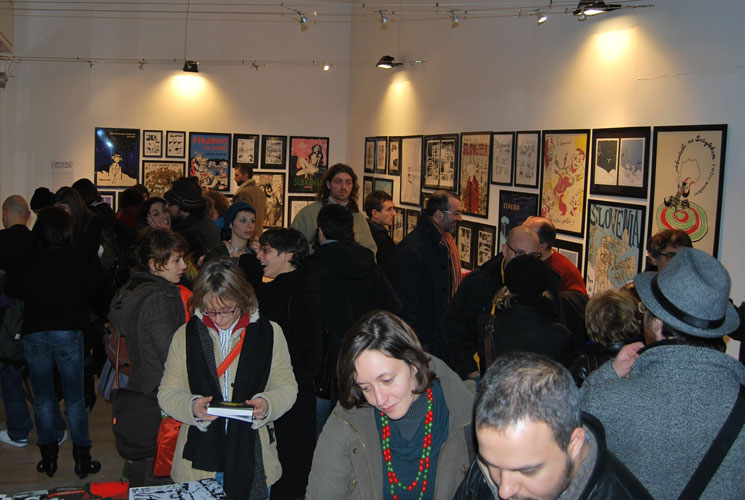
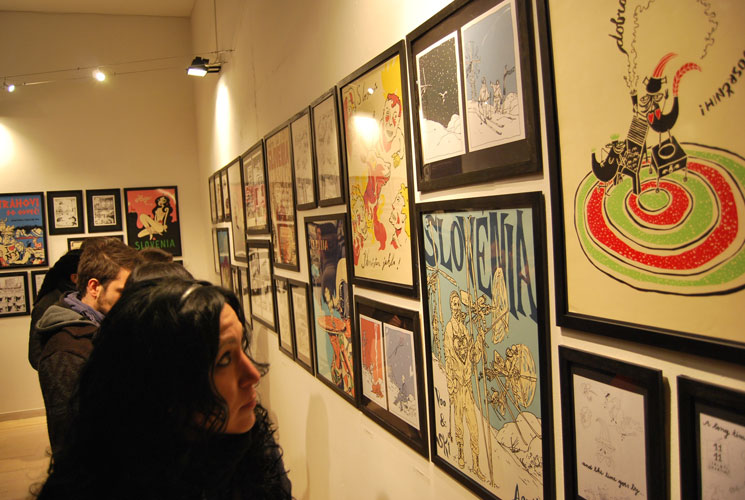
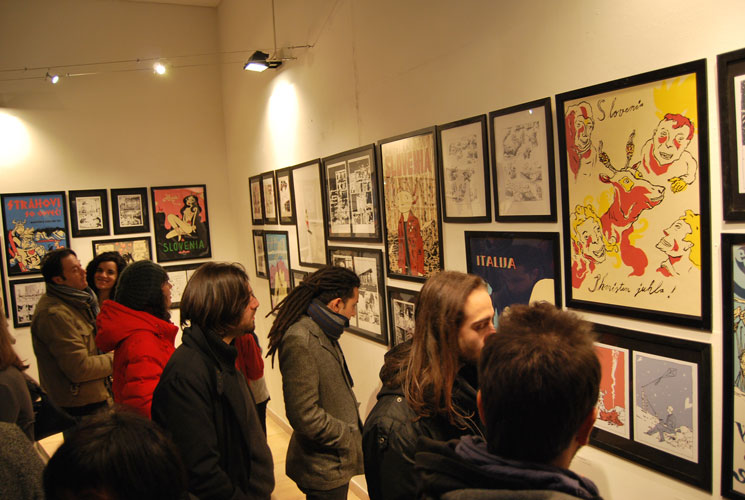
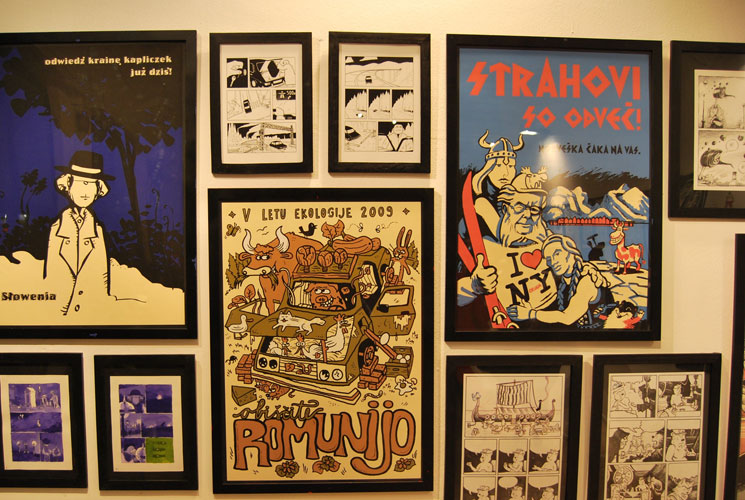
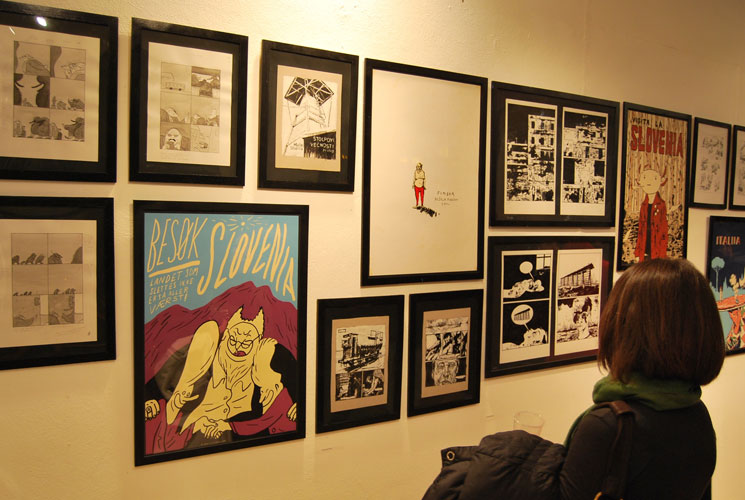
Greetings from Cartoonia / Pozdravi iz Striponije
RAM hotel, Bologna, Eatalley
22. Jan. – 12. Feb. 2010

Wrapping up 2009 means ranking over at Jay’s. Once again we’re going strong and last year was very fruitful, you can tell by our share of games in Jay’s nominations. This year we got 7 nominations in three categories and I’m not telling you to vote for our games, because the whole collection is astounding, I’m just letting you know in which categories you can find our games ;). Nothing obligatory, there are lots of good games there. Just saying where we are.
So, there they are:
– adventure (Submachine 6, Covert Front 3, the Fog Fall 2);
– escape (the Great House Escape);
– point and click (Bermuda Triangle Escape, Mandrake 1, the Scene of the Crime);
So.
Remember to check out all the games before voting. You can vote only once per day, so make sure you’re voting for those you like best. I’m not saying ours. ;)
walkthrough: english, francaise
reviews: jay is games, download squad
Well it’s actually almost here. Happy New Year everybody. Once again thanks for all the support and comments from 2009. I think we can agree that even if the plan wasn’t fulfilleld (lack of DMT3), there were enough games this year to call it a good year. Gigantic Covert Front 3 and not smaller Submachine 6, accompanied by dozen of games created in cooperation with Pastel Team.
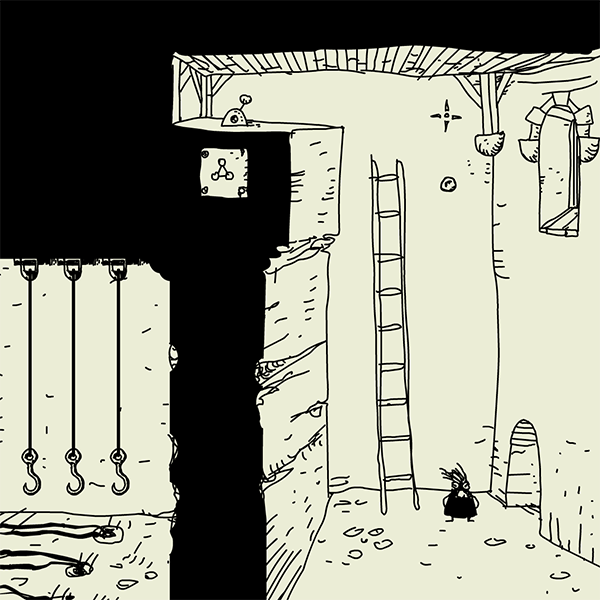
And there’s nothing better than finishing a year with a new game (or a minigame, like this one). You had no idea I was preparing this. Well I didn’t have any idea either until few days ago when I started drawing this as a New Year’s card. Things kind of got out of control and voila – a minigame called Where is 2010?… Enjoy and thank you once again.
Where is 2010? Cutesy (but a little creepy) Time-Waster
by Sebastian Anthony
I think this one might rank as the easiest Time-Waster I’ve ever reviewed — even I managed to finish it in just five minutes! Where is 2010? is a quaint little platformer game. You jump around, flip switches and… that’s about it really. Eventually you find ‘2010’ and the game finishes. This one’s more about the ride — the artistic vision — than the actual gameplay.
You only need to know two things that might trip you up: a) You can jump from one platform to another platform on a different screen, and b) You can climb back up the wall using the sticky-outy bricks (it doesn’t make sense now, but it’ll make sense to you later when you get stuck… like me…)
Casual Gameplay suggests that this is a precursor to a bigger game, DayMare Town 3. It would make sense that this is a trailer or teaser: the artistic style is unique, very well done. Where is 2010? is way, way beyond what you’d expect in a simple jump-around-and-hit-levers game.
Incidentally, if you haven’t played the DayMare series, you really should.
Happy New Year! As you pick yourself up from whatever flat surface you passed out on, mumbling and shaking your head and wondering, “Did I really do that?”, you need something to take the edge off. Something to cure the pounding head and queasy stomach. Something to help make sense of it all. Well, Where is 2010? won’t necessarily help with that. Instead, it will bring a curious serenity as you face the new year. A strange little platformer designed by Mateusz Skutnik (Submachine, Covert Front), Where is 2010? won’t cure the indulgences of the night before but will nevertheless allow you to kick off the new year in style (if you haven’t already).
Navigation through this strange little world is accomplished with the arrow keys. The left and right arrow will allow you to move, well, left and right. The up arrow key will allow you to jump and the down arrow key will allow you to interact with various parts of the scenery. Take your time and explore; for a five minute or less game there’s lots to behold. Strangely non-linear, be prepared to move backwards and forwards, up and down, and gaze in amazement at the bleak surroundings. Oh, and try to find 2010, of course.
The artwork in this eerie, deserted world is in hand-drawn black and white, reminiscent of and probably a tribute to the DayMare Town series. Adding to the chill factor is the eerie sound of wind blowing through this deserted space. Yet, despite the bleak atmosphere, in the end this is some rather uplifting casual gameplay.
You might ask, for such a short game is it fun to play? The answer to that is in two parts:
(1) It’s Mateusz Skutnik, and
(2) Duh! Is 2010 something real or just a state of mind?
You’ll have to play to find out. Have fun wandering in all directions, back and forth, up and down, and see what you can find. It’s amazing what can be packed into such a small space and there’s lots to see and do before it’s all over. Atmospheric, moody, and yet surprisingly cute while simultaneously sending a chill down your spine, Where is 2010? is a perfect way to start the new year right.
author : Grinnyp on jayisgames.com
Three coins on the first screen. Pull the lever to raise the platform on the right so you can reach the highest one.
While still on the now-tallest platform, jump far to the right. You will need to land on a mid-air platform.
Four coins on this screen, for a total of seven. Pull the lever and go left to return to the first screen.
A door to the left should be open that wasn’t open before. Enter it.
Three coins on this screen, for a total of ten. Pull the lever and return to the first screen.
Climb back to the tallest platform and jump right to return to that mid-air platform.
Jump onto the platform attached to the building and jump onto the window ledge. From there, grab the hidden coin by the little flag. You should now have eleven coins.
Two coins on this screen, for a total of thirteen. Jump onto the bottom platform and pull the lever. This will raise the platform and allow you to collect the coins. Do this before you get on the other platform.
Pull the lever to move to the right. Now jump far to the right. You will need to land on another mid-air platform.
One coin on this screen, for a total of fourteen. Pull the lever to go right so you can collect the coin, then go right onto the next screen.
Three coins on this screen, for a total of seventeen. They are embedded in that thing hanging on the right-hand side.
You’ll need to climb back up the side of the building to get all of them, unless you’re clever enough to get more than one at a time, unlike me.
One coin on this screen, for a total of eighteen. Get it before you go down the well.
Three coins on this screen, for a total of twenty-one. They’re all in a vertical line on the right.
Go all the way to the left before you go down the chute.
One coin on this screen, for a total of twenty-two. Pull the rope.
Now go right and down the chute.
Go left. A door to the left should be open that wasn’t open before. Enter it.
Two coins on this screen, for a total of twenty-four. Turn the wheel.
Go right, climb to the top of the building, and go left.
Down below, a door to the right should be open that wasn’t open before. Enter it.
Three coins on this screen, for a total of twenty-seven. Pull the lever.
You found 2010!
written by: ray9na, found on jayisgames
– Ramasser les trois pièces (utiliser le levier pour faire monter la plateforme). Sauter vers la gauche depuis la plateforme montée, ramasser les quatre pièces et abaisser le levier.
– Retourner à gauche et passer la porte ouverte. Monter à l’échelle et ramasser les trois pièces, abaisser le levier.
– Ressortir et aller tout à droite (en passant par la plateforme levée) et passer par la porte ouverte en haut.
– Ramasser les deux pièces et abaisser le levier pour se déplacer avec la plateforme. Aller à droite en sautant depuis la plateforme en haut. Aller encore à droite en utilisant le levier de la plateforme. Aller vers la droite et attraper les trois pièces sur l’espèce de lustre en sautant.
– Prendre la pièce derrière le puits et descendre dans le puits. Prendre les trois pièces, aller à gauche et prendre la pièce et tirer la corde. Aller à droite et descendre dans le puits.
– Aller à gauche et entrer dans la porte ouverte sous l’espèce de lustre. Prendre les deux pièces et faire tourner la roue.
– Sortir, remonter et aller à gauche. Passer la porte ouverte, prendre les trois dernières pièces (on arrive à 26) et abaisser le levier pour trouver 2010.
posté par Lambda